
On this page
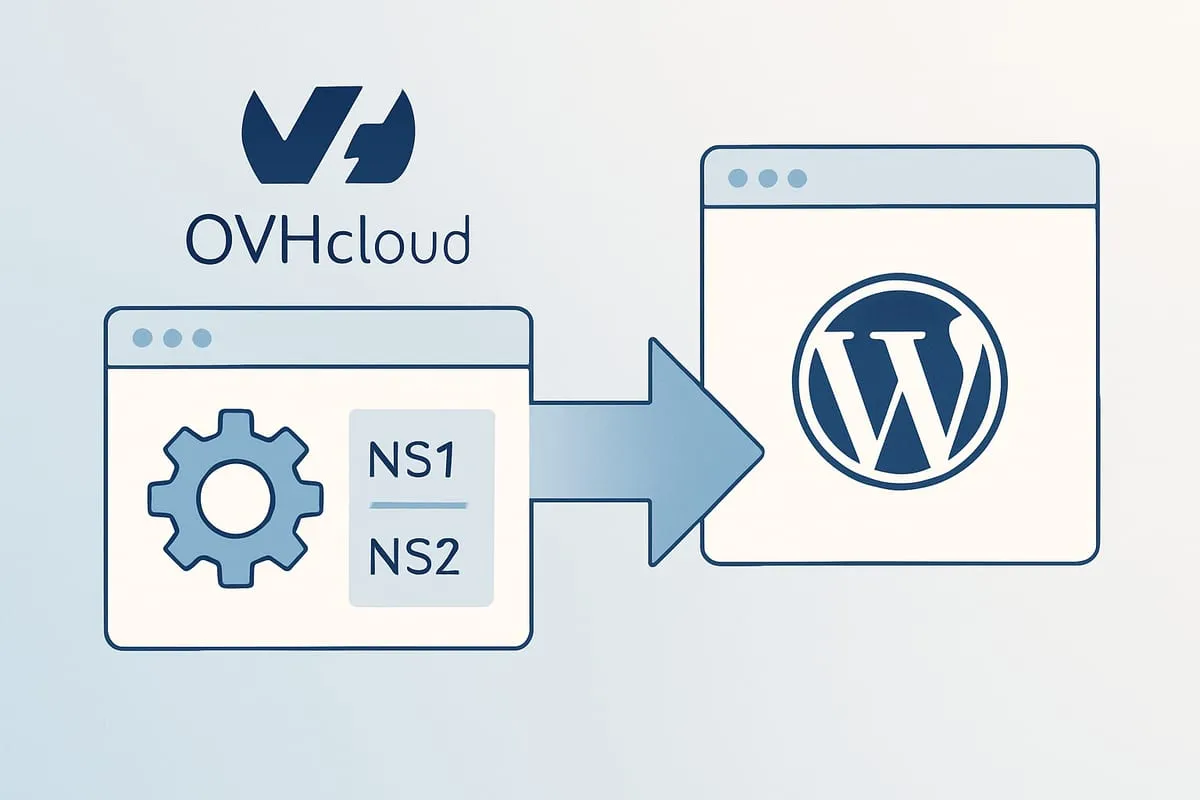
If you registered your domain at OVHcloud and now want to host the site on WordPress.com, the piece that connects the two is your nameservers. Until OVHcloud is pointed at WordPress.com’s nameservers, your domain still answers from OVH’s DNS and your WordPress.com site stays on its default .wordpress.com address.
This is a short walkthrough of what to change, where to change it, and how to confirm the switch actually happened.
What nameservers actually do
Nameservers are the piece of DNS that tells the rest of the internet where to look for your domain’s records. When you type a domain into a browser, the browser asks that domain’s nameserver, “where’s the website for this?” The nameserver answers with an IP address, and the browser goes there.
When you change nameservers, you’re not moving your website. You’re changing which DNS provider answers questions about your domain. Until you switch nameservers from OVHcloud to WordPress.com, WordPress.com has no authority over your domain’s records.
Changing nameservers at OVHcloud
Here are the steps to update your nameservers at OVHcloud:
Step 1: Log in to your OVH Control Panel using this direct link: https://www.ovh.com/auth/?action=gotomanager. Once you’ve logged in successfully, navigate to the ‘Domains’ menu and select the domain name you’d like to connect to your WordPress.com site.
Step 2: To start editing your domain nameservers, first head over to the ‘DNS Servers’ tab and click the ‘Modify DNS servers’ button. You’ll see a table with an input field pop-up. Now, type in the custom name servers that WordPress.com provides you. Here are the name servers you need to use:
ns1.wordpress.com
ns2.wordpress.com
ns3.wordpress.com
Once you’ve entered this information, hit ‘Apply configuration.’ You’ll notice the statuses for the DNS servers update in the table, reflecting the new information you just provided.
Step 3: After completing the steps mentioned above, give it some time for the changes to be fully effective. Typically, DNS changes spread across the internet within a few hours. However, it might take up to 48 hours for complete propagation.
Setting up your domain at WordPress.com
After changing your nameservers at OVHcloud, the next step is to link it to your WordPress.com site. You can do this by mapping your domain to WordPress.com. Follow these steps to complete the process:
Step 1: Log into your WordPress.com and select the site.
Step 2: Go to Upgrades > Domain and click the 'Add a Domain' button. Select 'Use a domain I own' from the drop-down menu.
Step 3: Type your domain name and click the Next button. On the next screen, you will have two options: connect to map the domain.
Step 4: Complete the domain connection process by clicking the Start Setup button.
Testing and Verifying Your Setup
The simplest way to test is to visit your domain in a browser. If it loads your WordPress.com site instead of the OVHcloud parking page, the nameserver change has taken effect. For a more precise check, use whatsmydns.net to see which nameservers different regions are seeing.
Once the domain is connected, you can follow the official WordPress.com guide to set it as your site’s primary address.
If something goes wrong, a WordPress.com Happiness Engineer can help you through live chat. They have visibility into both the DNS side and the site side, which saves time when the issue isn’t obvious.
That’s it. Once propagation finishes and WordPress.com marks the domain as connected, everything else (SSL, primary address, email forwarding) is handled inside WordPress.com’s domain settings.
If your domain doesn’t resolve after 48 hours, double-check two things: the nameservers at OVHcloud are exactly ns1, ns2, and ns3.wordpress.com with no typos, and the domain mapping inside WordPress.com is for the same domain you updated at OVHcloud. Those are the two places this usually goes wrong.

Shameem Reza Happiness Engineer at Automattic
I fix WooCommerce problems for a living and review plugins for WordPress.org. Every fix here is tested on a clean site first.


No comments yet. Ask the first question.